How to keep Staining Cedar Wood Colorful and Protected

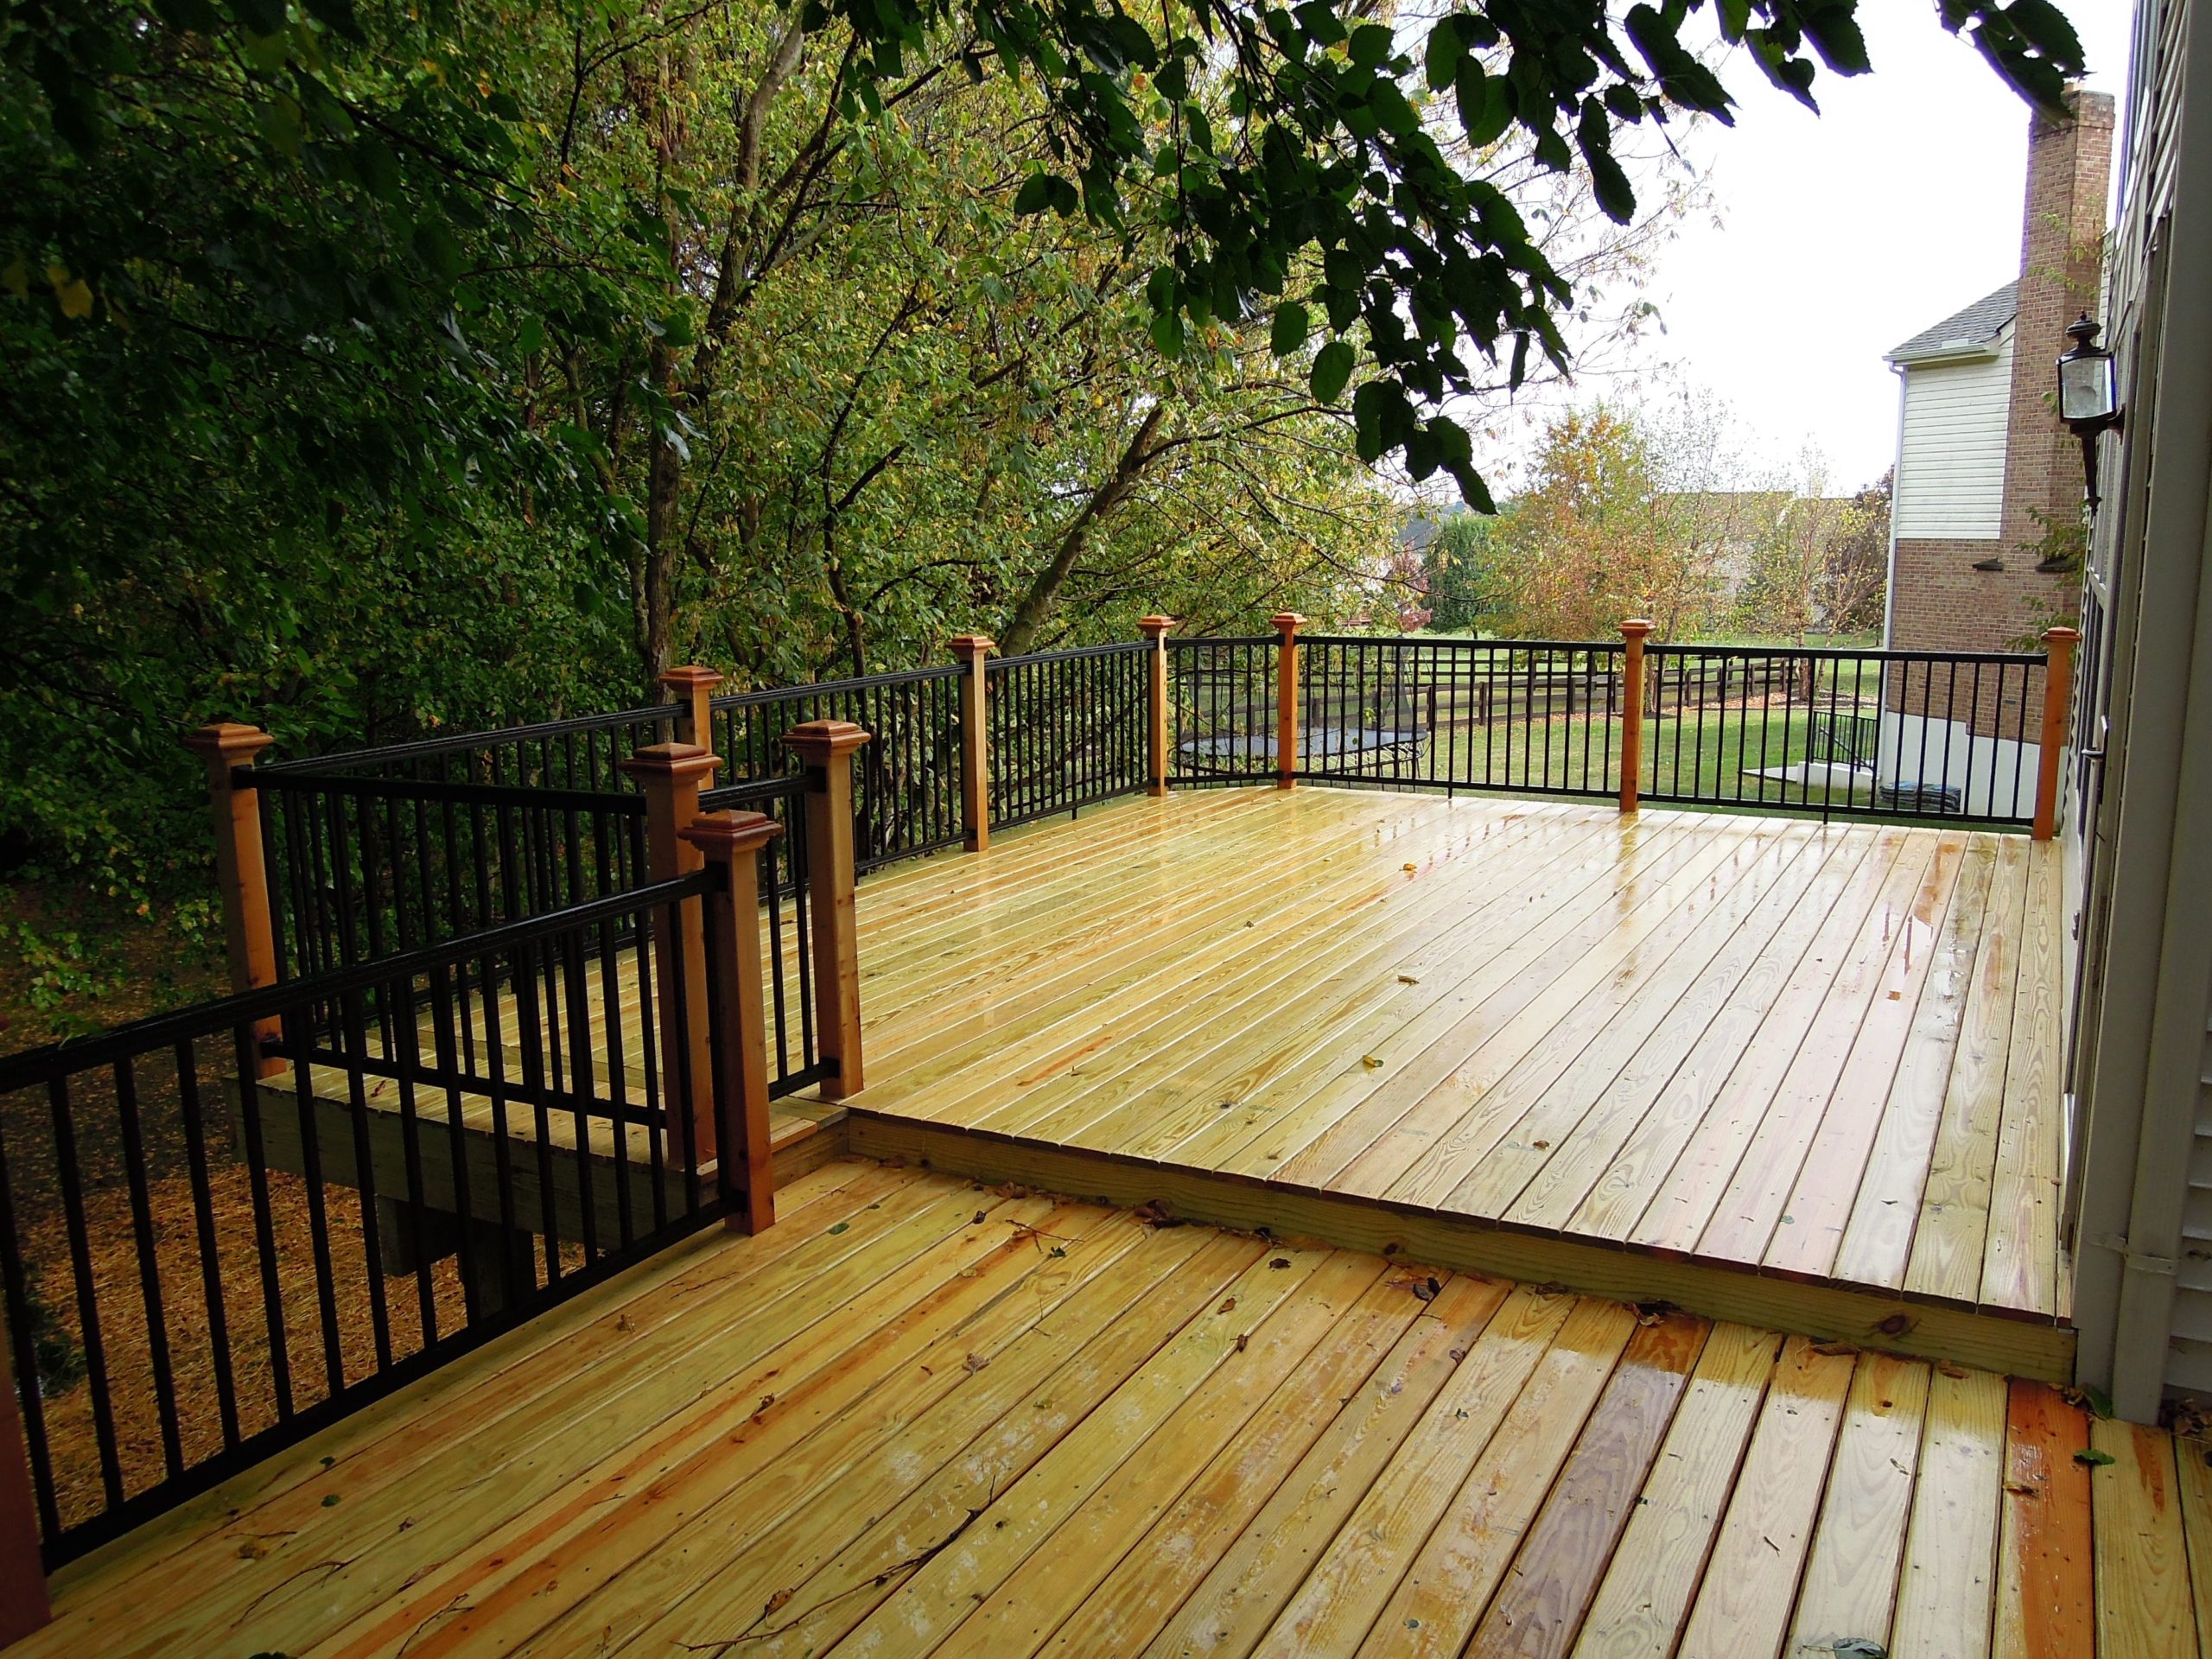
Red-colored aromatic cedar wood is one of the most famous species of wood that is popularly used for exterior use due to its beautiful, natural red color. It is mostly used for furniture, trim, fences, gates, decking, and house siding. Cedar weathers well and it is cheap as well as widely available. However, one disadvantage of cedar is that its lovely red color turns gray quickly, and once it is turned gray, it can not be changed.
In order to maintain the color of cedar all, you need to do is treat it properly. A wide range of options is available if you plan to paint the cedar. Here is all you need to know about cedar wood treatment basics to maintain its natural color and shine.
How Cedar Wood Weather?
Cedar wood is loaded with natural oils due to which it deteriorates slowly. Untreated cedar fences can be used for years; however, their weathering starts immediately, and it begins to crawl quickly. Before slowing down, weathering rapidly progresses into the wood to around two millimeters. However, over time the weathered part of the wood starts to flake away.
When weathered completely, the appearance of cedar is totally different, and it takes a silver-gray look. If you like the look of an old barn that is weather-beaten, then you will be happy to know that cedar can develop this look. Nevertheless, one bad thing about the weathering of cedar that most people don’t like is that it turns silver-gray unevenly. This is not noticeable over a small area; however, it is more apparent when you look at sidings that experience wind, sun, or precipitation.
Cedar Treatment Basics
One of the most important questions when treating cedar is how much cedar do you want to cover? After installing the cedar, you have a time period of two weeks to decide. After two weeks, the wood begins to discolor, and it changes the color rapidly from red to gray.
If you plan to treat your wood, there is a wide range of options available. All you need to do is make sure to add more solids in the treatment to make the cedar last longer. Here are some basic cedar treatments to help you in managing the shine of your cedar.
Treating Cedar with Primer and Paint
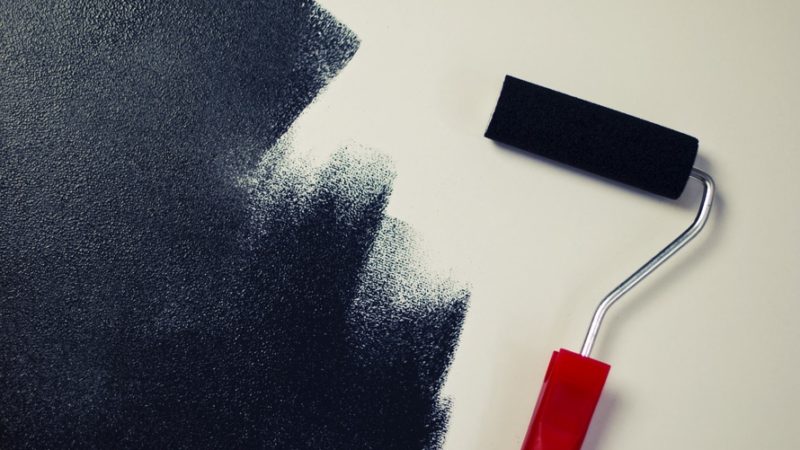
If you want to protect the cedar, then the best option is to paint it. Paints of all types, including oil-based, modified-acrylic, and vinyl acrylic, are suitable for cedar. However, the one with 100% acrylic formulation is the best.
Light is the primary contributor to the decline of cedar. It is better to paint the cedar with light colors as they reflect the light more effectively as compared to the dark colors, which help in avoiding the deterioration of cedar. Before painting the wood, prime it properly in order to cover the large pores of cedar. Here are simple steps that you can follow to paint the cedar.
- First of all, apply a single layer of water-repellent preservative. Do not paint until the solvent present in the preservative dries; otherwise, the paint may discolor.
- Once the preservative dries, apply a good quality primers. It is important to apply a layer of primer as it creates a perfect base and allows the paint to cover the pores.
- Finally, apply the paint over the primer. If you want to apply two layers, then allow the first layer to cure properly. Once it is cured, apply the second layer. In damp weather, allow extra time before applying the second layer.
Treating Cedar with a Bleaching Oil
If you like the weathered appearance and gray color of cedar, then you will have to use certain measures to preserve the natural look. You can opt for applying the bleach oil. It is a two-step procedure. First, in order to stabilize the color, the oil tones the wood. Then in the second step, the oil accelerates the process of bleaching so that the wood gets the weather look quickly and uniformly. It will take three to six months for the wood to develop a complete weathered look.
Staining Cedar with a Solid Color Stain
Solid color stains are loaded with solid particles, but less than paint. Therefore, solid color stain allows the grain of cedar to show through. However, it does not allow to show through the color. After staining cedar with a solid color, you get a uniform opaque color. The best part is that the stains of solid color will help in blocking the damaging ultraviolet light. In addition to this, it is best at repelling water.
If the cedar wood is new, the one layer of solid color stain is sufficient. In order to provide better and longer protection, it is better to apply a prime coat before the topcoat.
Staining Cedar with a Semi-Transparent Stain
If you want to maintain and protect the slightly weathered look of cedar, it is best to stain the cedar with the help of a semi-transparent stain. It has less solid particles which help in maintaining the natural look of the wood grain of the cedar. Nevertheless, you need to be careful while applying the semi-transparent stain to the cedar. The best option is to apply it through manual brushing. Try to avoid spraying as it can lead to blotching. Semi-transparent stains not only help in protecting the natural look but also helps in beading up water. In addition to this, it also restricts the moisture from penetrating the cellular structure of the wood.
Safety Note
The dust of red cedar can cause asthma. It can also worsen the condition in individuals who are suffering from asthma. The volatile compounds that are found in the wood are responsible for this condition. Therefore, it is better to use a twin cartridge respirator when sanding or sawing the red cedar. Do not wear a paper mask, as it would not be enough to provide protection. In addition to this, wear eye protection, rubber gloves, and old clothes while handling the bleach solution or bleach.


